Deploying Unity Game Server Into Playfab Cloud
Microsoft Azure PlayFab service is a great way to host your multiplayer game and manage player data. With Azure PlayFab, game developers can leverage cloud-based infrastructure and services to scale their games and provide an optimal experience for players. In this guide, I will take you through the steps involved in deploying your Unity Linux game server on the PlayFab service, all at no cost.
Prerequisites:
- Supports both Mirror and Fishnet
- Server is set up in a Linux container.
- Dev machine: Windows 10/11
- Needs a PlayFab Account with payments setup (you wont be charged)
Initial setup:
Machine and Project Setup: (Windows 10/11)
- Enable WSL2 and install Ubuntu distro. More info: Set up your Windows development device - PlayFab | Microsoft Docs
- Install and setup Docker for wsl2 and make sure it’s running Linux Containers
- Add Linux Build support module to your Unity Engine Installation
- Access to the game’s PlayFab developer account and its docker “Azure container registry” credentials for a new build.
- Make sure your project has Unity C# SDKs for PlayFab and UnityGsdk (Playfab game server SDK for unity) setup and the api’s have already been integrated. (Sample server script & client script)
- Setup either mirror or fishnet in the project, and add their network managers into the scene
Network Manager Setup for Mirror:
-
Create a new custom network manager as a inherited child class of mirrors network manager and add the KCP transport component into the same gameobject, which inturn uses UDP protocol
-
Add a simple switch in the custom network manager like in the below image and set up all other necessary events like OnClientJoined etc in the script.
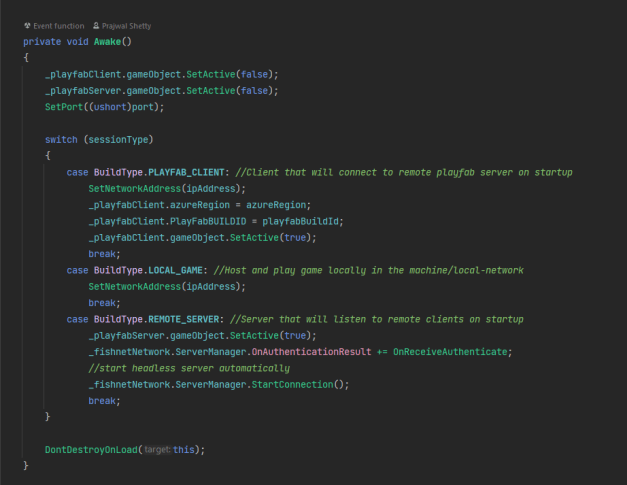
- Add server and client listener scripts as child of the network manager gameobject
Network Manager Setup for Fishnet:
-
Create a new custom network manager script, similar to the above mirror one.
-
Add fishnet’s network manager as the child of the above gameobject along with it’s tugboat transport component
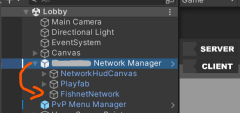


- Add server and client listener scripts for playfab as child of custom network manager gameobject
Build and Deploy:
Building the headless server:
- Switch to
Dedicated-ServerBuild mode and SelectLinuxas Target Platform
- In Custom networkManager, switch Build type to REMOTE_SERVER
(which in turn enables the agent-listener script)
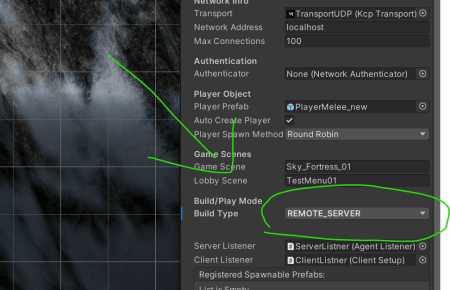
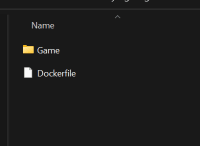
- Build the game and once build complete, create docker file in the build’s parent directory Create a Dockerfile - PlayFab | Microsoft Docs Directory and file should look something like the below image and the parent directory shouldn’t have any other files/directories except the dockerfile and game directory (Note: Exclude the “ServerX_BurstDebugInformation_DoNotShip” Directory before creating the docker image of build folder.)
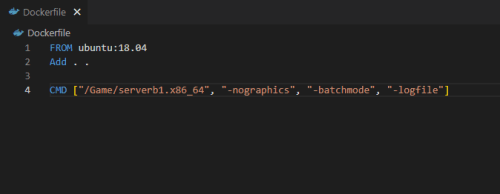
Creating and Deploying the Docker Image:
- Copy the Docker Creds from PlayFab developer account
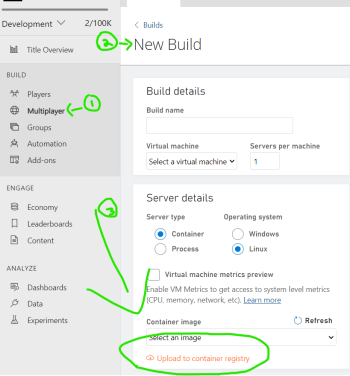
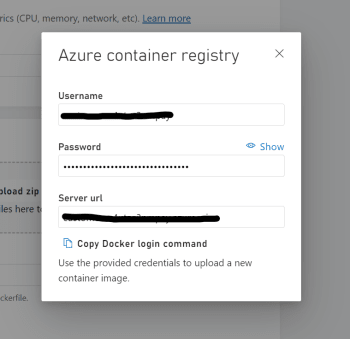
- In your windows machine, open the ubuntu terminal (not windows cmd),
- move to the directory which contains the previously created Dockerfile,
cd mnt/c/Code/Test/battle-axes/Builds/server5/ - run the login command
docker login -u <username_here> -p <password_here> <url_here>* - run the build docker image command
docker build -t <url_here>/battleaxes_server:v1 .
Note: there is a . in the end of above command which means all files in the directory and increment v1 (vX) based on previously uploaded version)*
- Now before pushing this image to the cloud, test it locally by following these steps.
- run the
pushdocker build to cloud commanddocker push <url_here>/battleaxes_server:v1
Testing the headless server:
Testing locally using playfab’s MpsLocalAgent:
- Download the localAgent that’s required for testing playfab builds locally. Url: Releases · PlayFab/MpsAgent · GitHub
- Setup the **MultiplayerSettings.json **file in the downloaded directory. more_info: Debug Container-based game servers using LocalMultiplayerAgent | Microsoft Docs
The file should look something like this in the end:
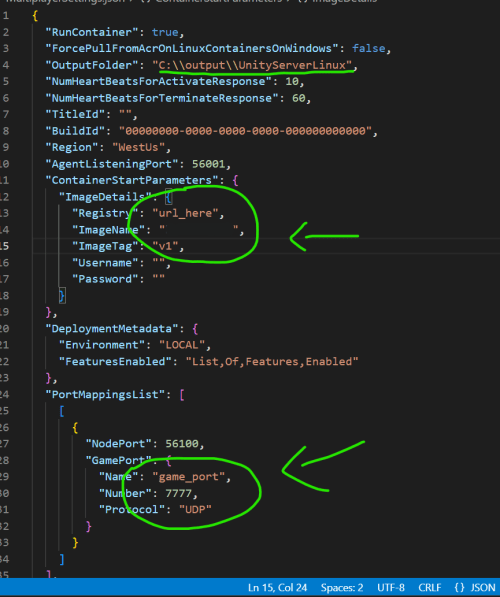
- Now open windows terminal in the downloaded directory and run command:
.\LocalMultiplayerAgent.exe -lcow
Note: lcow stands for Linux Containers On Windows
- Once the local server goes to “active”, connect a local client with
ip: 127.0.0.1 and port 56100
Using SSH into running cloud server:
- Click on “Connect to Virtual Machine” in builds of playfab developer console
- Open your windows terminal and Run the ssh command
ssh <id_here>@<ip_here> -p <port_here> - Run the Docker ps to get current running container info
sudo docker ps -a - Get current server logs by cmd:
sudo docker logs <docker_container_id>
Testing locally using ParrelSync and three Unity editor instances:
- Setup ParrelSync in the project GitHub - VeriorPies/ParrelSync: (Unity3D) Test multiplayer without building
- Have three editor instance running, one will be playfab_server and the other two will be playfab_clients (not local clients),
- Join the server from other clients using the default local host ip address (0.0.0.0) and default local port.
Common issues:
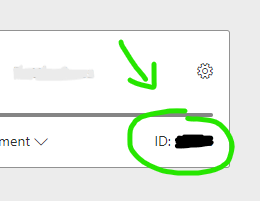
- If you get an error called: “You must set
PlayFabSettings.TitleIdbefore making API Calls.” you can get the title id from playfab developer console.
- If you get this error “network playfab not found”
 Open “SetupLinuxContainersOnWindows.ps1” in LocalMultiplayerAgentPublish you just downloaded and run this “docker network create playfab –driver bridge” in your linux distribution .
Connecting to our playfab game server as client:
Client Build Setup:
- Switch back to whatever target platform you were previously in from the dedicated server platform.
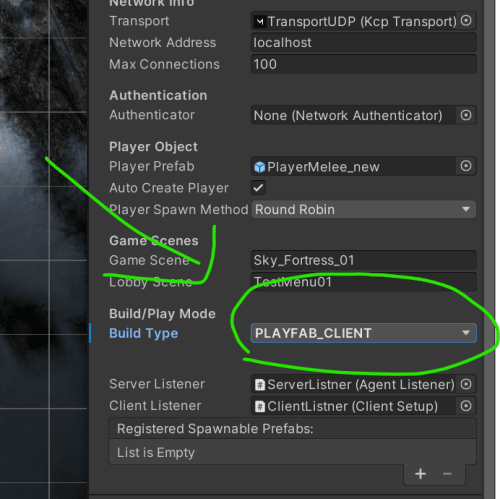
- In Custom networkManager, switch Build type to
PLAYFAB_CLIENT(which in turn enables the client-startup script)
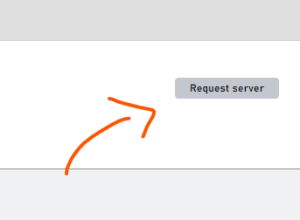
- In the playfab dashboard, click on the “request server”, when you have standby servers, and then Get the ip address, port and build id from the playfab console on the website.
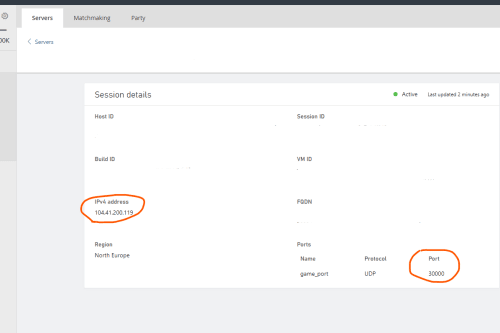
- Make sure you have the right build-id, ipAddress, port **and **region set in the custom network manager or the network manager script and save scene for all clients
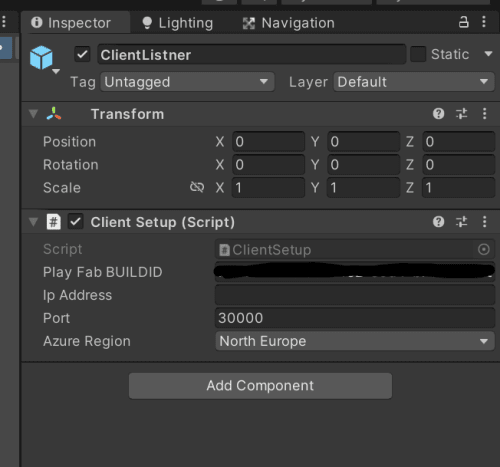
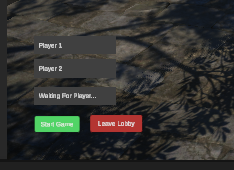
- Now with server already running, Click on Start game from clients in UnityEditor, and this should connect them all together.

- Now open a second client and click on “Join Game” button, enter the configuration you received above
Multiple instances:
Inspecting multiple instances in same VM:
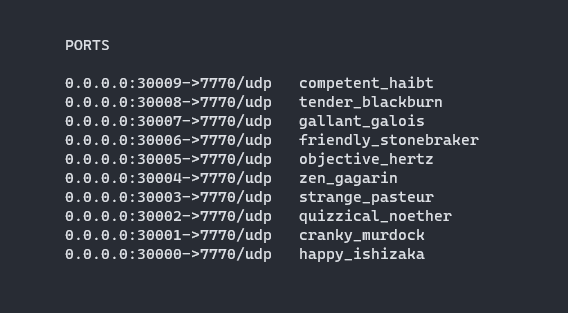
- Containers use “playfab” network plugins, to inspect the instances in the machine run:
docker inspect network playfab - More details: Connecting clients to game servers - PlayFab | Microsoft Learn

Leave a comment